
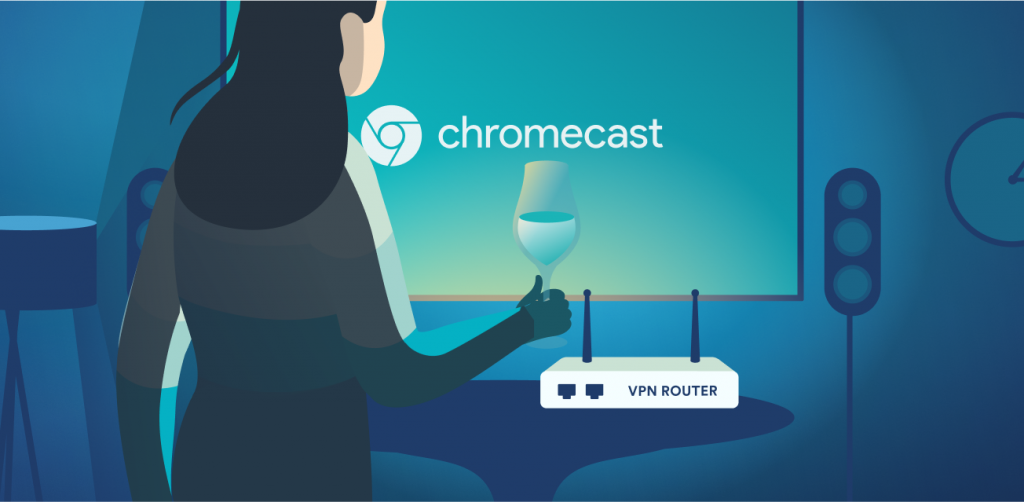
TV? Check. Warm drink in your hands? Check. Chromecast? Check. You’re prepared for the perfect evening to relax! Except… what about your VPN? Chromecast doesn’t support VPNs. That doesn’t mean you cannot set it up, however. Learn how to set up a Chromecast VPN with different methods in this article.
Surfshark does not encourage using a VPN in any way that would potentially violate the Terms of Service of other service providers.
How to use Chromecast with a VPN – overview
You can secure your connection and protect your online privacy by using a VPN on Chromecast. Whether you want to use Chromecast with Google TV and Surfshark or your Samsung Smart TV, the method of connecting will stay the same. As you cannot set up a VPN app directly with Chromecast, you need to set up your router instead. Here’s how:
- Identify your router’s firmware and model.
- Choose a compatible VPN service.
- Set up a VPN on your home or virtual router.
- Connect your Chromecast to your router.
- Stream in peace and quiet.
Now, let’s get you going on that router setup!
Using Chromecast with a VPN method 1: Physical router
For this approach, you’ll need a VPN client-compatible router and a VPN app.
Note: Some VPN routers aren’t VPN-compatible. However, with a bit of effort, they can be made to be VPN-compatible. The process is a bit involved – check out our instructions on how to install a VPN on a router.
A VPN client-compatible router is a router that you can install a VPN app on. You can check the router’s manual or do a quick Google search to find it out. Once you do, you can follow these straightforward steps:
- Open the router configuration panel. To do it, enter your router’s IP address in your browser, just like a URL. Finding the IP is different for every operating system.
- For Windows 10 users, this means opening the “Start” menu, typing in “Command Prompt,” and opening this program. There, you have to type in “ipconfig” and press “Enter.” You should see your router’s IP address on the “Default Gateway” line.
- Mac users should start by going to “System Preferences.” There, you should find and click the “Network” icon, select your network connection (Wi-Fi, wired, whatever), and click the “Advanced” button at the bottom. Then, go to the “Network” window, select the “TCP/IP” tab, and see your router’s IP address listed as “Router.”
- Follow your VPN app’s guidelines. Every VPN service will have different instructions for setting up on different router firmware types. For example, you can take a look at Surfshark’s instructions for setting up a VPN on Asus routers, DD-WRT routers, and Tomato routers. More can be found in the support section.
- Check if you’re connected to the internet. If not, check if you carried out the instructions correctly. If you’re a Surfshark user, contact Surfshark customer support.
Using Chromecast with a VPN method 2: Virtual router

Sometimes, you just don’t have a router handy. Or maybe you’re not feeling like tackling the issue of making your physical router VPN-ready. In this case, you can turn your PC into a virtual router.
Note: This method only works with Windows at the moment.
Setting up a virtual router for Windows 10
- Go to “Settings,” then “Network and Internet,” and then “Mobile Hotspot.”
- Switch the “Mobile Hotspot” ON.
- On the right, under “Related settings” click “Change adapter options.”
- In the new window, right-click on your VPN app’s connection and choose “Properties.”
- Navigate to the “Sharing Tab,” tick the “Allow other network users to connect through this computer’s internet connection” box, and choose your newly-created hotspot in the drop-down menu. Click “OK.”
- Your virtual router is good to go!
Setting up a virtual router for older Windows OS
If you want to set up a virtual router for your Chromecast on an older Windows OS, see below:
- Press the Windows + S keys at the same time.
- Type in “cmd.”
- Right-click “Command Prompt” and select “Run as Administrator” in the drop-down menu.
- Type in “netsh wlan set hostednetwork mode=allow ssid=[NETWORKNAME] key=[PASSWORD]” and do not press “Enter.”
- Replace [NETWORKNAME] with the name for your new network.
- Replace [PASSWORD] with the password for your new network.
- Press “Enter.”
- Press the Windows + R keys at the same time.
- Type in “ncpa.cpl” and click “OK.”
- Find the connection that has the name that you chose in Step #5.
- Remember the title (the first line) of this connection.
- Find your VPN connection. In this example, it’s the Surfshark one.
- Right-click on it and select “Properties” in the drop-down menu.
- Go to the “Sharing Tab,” check the “Allow other network users to connect through this computer’s internet connection” box, and choose the hotspot with the title you noted in Step #11 in the drop-down menu. Click “OK.”
- Your virtual router is ready!
Setting up a virtual router for Mac
… is complicated, limited, and doesn’t always work. Sure, there’s nothing stopping you from trying. And although we recommend using different methods instead, if you really want to, you can contact our support team to test it out. They will be able to help you figure out whether this is the setup for you.
Setting up Chromecast with a VPN when the router is ready
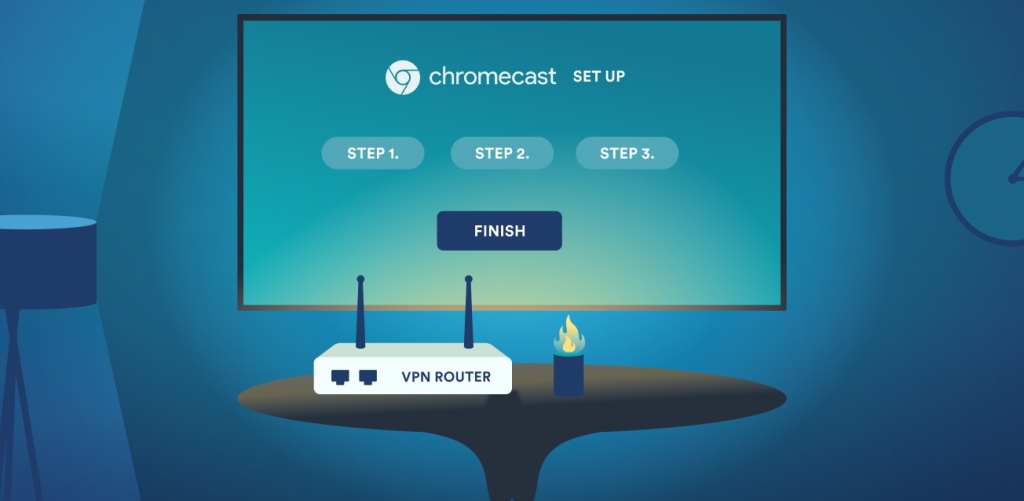
Once the router is set up and the internet is working, finish setting up your VPN for Chromecast by doing this:
- Connect to a VPN server.
- Connect the device you use to control Chromecast to the Wi-Fi network that’s now VPN-protected. It’s your phone or tablet with the Google Home app on it.
- Set up your Chromecast if you haven’t done so. You can follow the official Google guidelines.
- At the “Connect Chromecast to your Wi-Fi” step, select the VPN network.
- If you already have a Chromecast set up, connect it to the VPN-protected Wi-Fi network.
- Stream to your heart’s content.
Chromecast and a VPN: The benefits
Why use a VPN with Chromecast? Here are a few good reasons:
- Overcome censorship: The country you’re in banned your favorite Cast-capable apps? If you have a VPN running, you can easily bypass that.
- Stream in privacy: With a VPN on, your ISP can’t record your internet browsing data. So stream whatever you want without leaving a trace!
- Avoid being throttled: When it comes to selectively and purposefully slowing down your internet connection, ISPs consider your downloads among the top targets. And trust us, ISPs know what you download. Reclaim your internet speed and stream without interruptions with a VPN.
Bottom line: Don’t Chromecast unprotected
All you need to stream Chromecast with a VPN is to pick a method you want. Virtual routers, physical routers, Windows, Mac – the world’s your oyster. And setting up a VPN to work with Chromecast is well worth the effort.
If your Chromecast turns any TV into a smart TV, then a VPN allows you to use your Cast-friendly service without streaming your data to ISPs, advertisers, and other snoopers.
FAQ
Why can’t I Cast when using a VPN?
For Chromecast to work, it needs to have the same IP address as the device you’re casting from. Usually, this means that you simply need to have them both connected to the same network. However, since a VPN changes your IP, this can get tricky if you change your IP on your phone but not your TV.
That’s why the easiest way to use Chromecast is to apply the VPN connection directly on your router. Then, every device has the same IP – that of the VPN server.
Can I use Surfshark and Chromecast with Google TV?
Yes. Whether you’re using Surfshark with Google TV or Android TV, you will be able to Cast with the router method.
Can I use Surfshark on Chromecast and other devices at the same time?
Yes, you can use Surfshark on multiple devices simultaneously. Surfshark doesn’t limit the number of devices you use, so you can have a VPN on Fire Stick, Apple TV+, Samsung TV, Chromecast, and more — all at the same time.