Changing your virtual location allows you to stay private online, get better prices for goods and services when shopping virtually, and overcome oppressive censorship.
A VPN (Virtual Private Network) is one of the best tools for switching your IP (Internet Protocol) address and appearing in a different location. Follow along to learn other ways to change your virtual location and the benefits of a VPN, proxies, and more.
How to change your VPN location
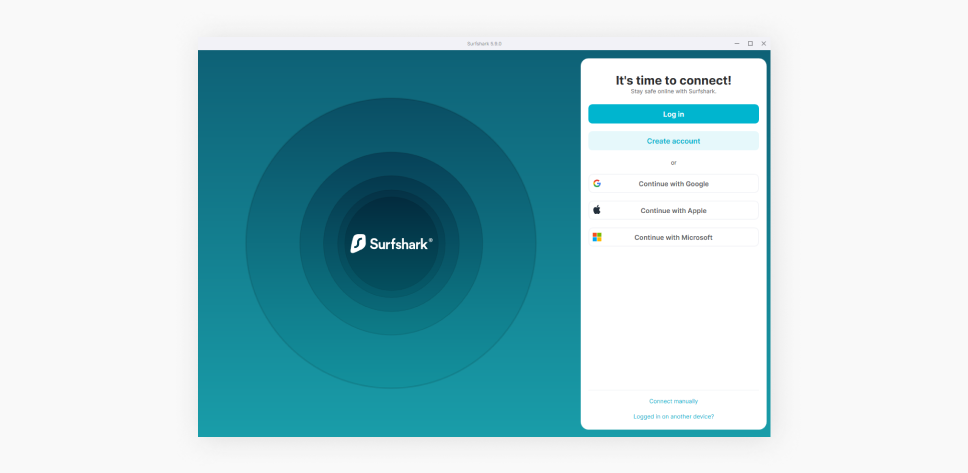
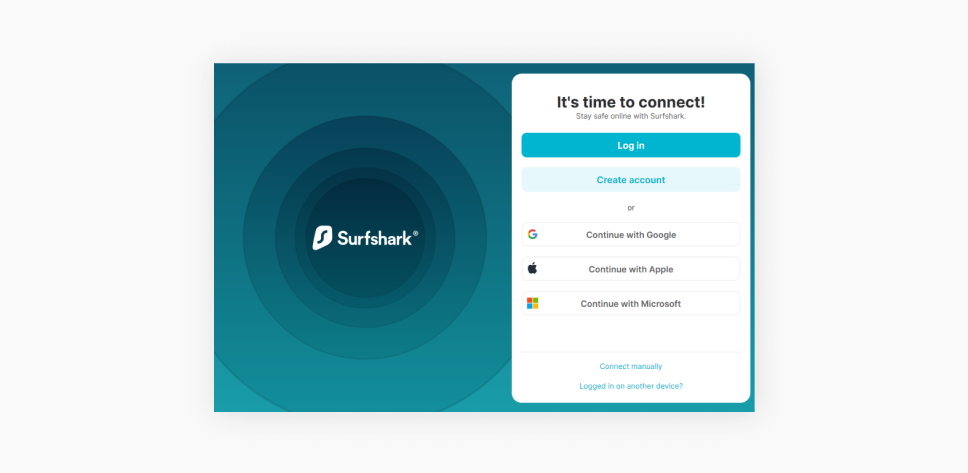
Using a VPN is the most convenient way to change your IP address. It is simple, fast, and doesn’t require tech knowledge. Moreover, a reputable VPN like Surfshark will provide more privacy and security benefits than any other IP-changing method.
Here’s how you can change your location with a VPN:
- Choose a VPN provider with a large global server network.
- Download and install the VPN app on your devices.
- Log into your account.
- Choose a location.
- Connect to the VPN server.
So, let’s say you want to get a UK IP. If you have a Surfshark subscription, here’s what you need to do:
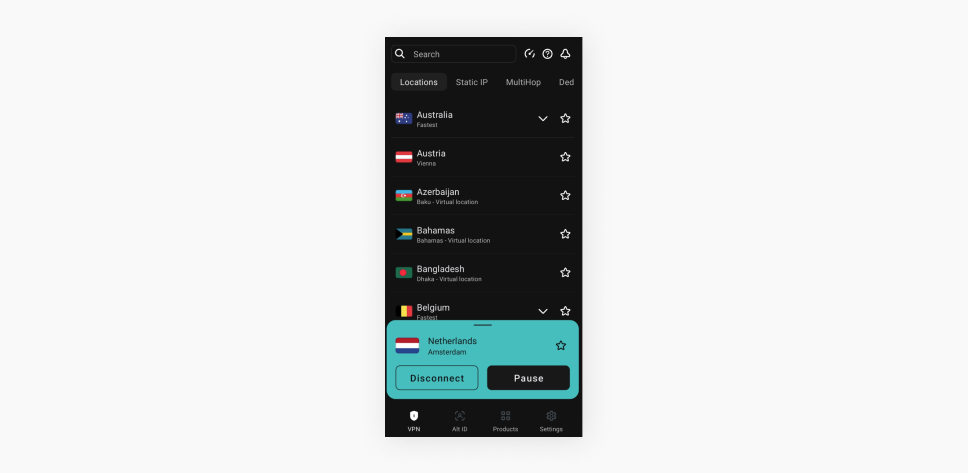
- Log in to the app.
- Go to the Locations tab.
- Find the UK locations (UK VPN servers).
- Click on the preferred UK location to connect to.
It’s as simple as that! And if your device doesn’t support the app, you can set it up manually or use a VPN router instead.
The steps required for changing your VPN location will differ based on the VPN service and your device. So, if you have a Surfshark VPN subscription, here are the guidelines on how to change your VPN location on different devices:
Changing your VPN location on mobile devices
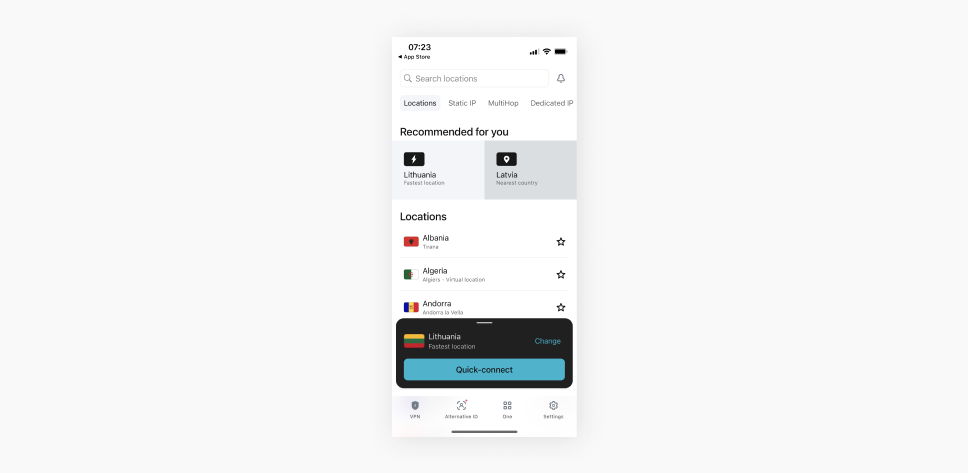
iPhone
- Download the Surfshark App from the App Store.

- Open the app and log in.
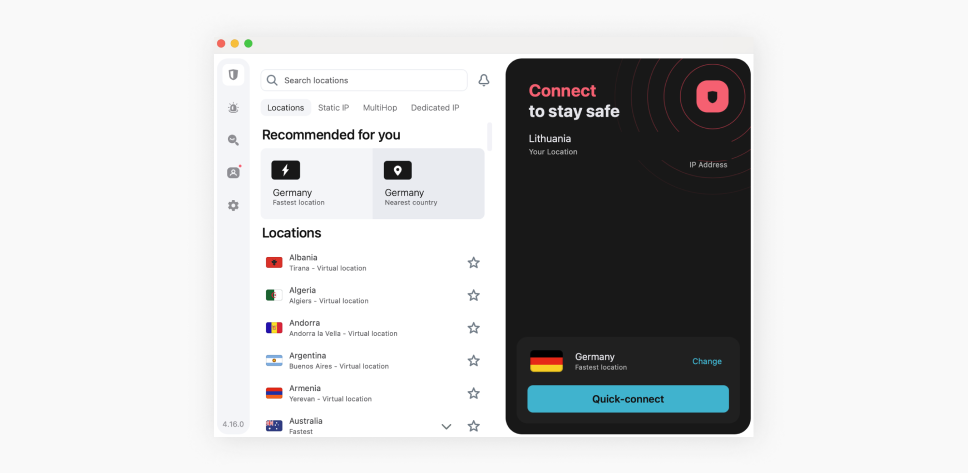
- Connect to a preferred VPN server. There are a few options to do so:
- Choose one of the Recommended for you locations (Fastest location or Nearest country);
- Scroll through the Locations list or use the Search locations bar to find a VPN server you want to connect to;
- Use the Quick-connect button to connect to the fastest server or click Change and preset it to always connect you to the fastest/nearest available or preferred location.
Android
- Download Surfshark VPN from the Google Play Store or download the Android VPN APK.
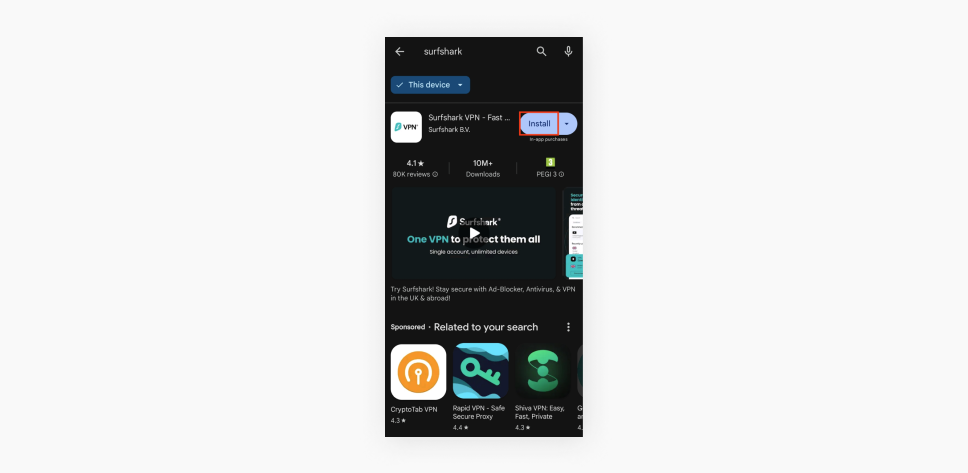
- Open the app and log in.
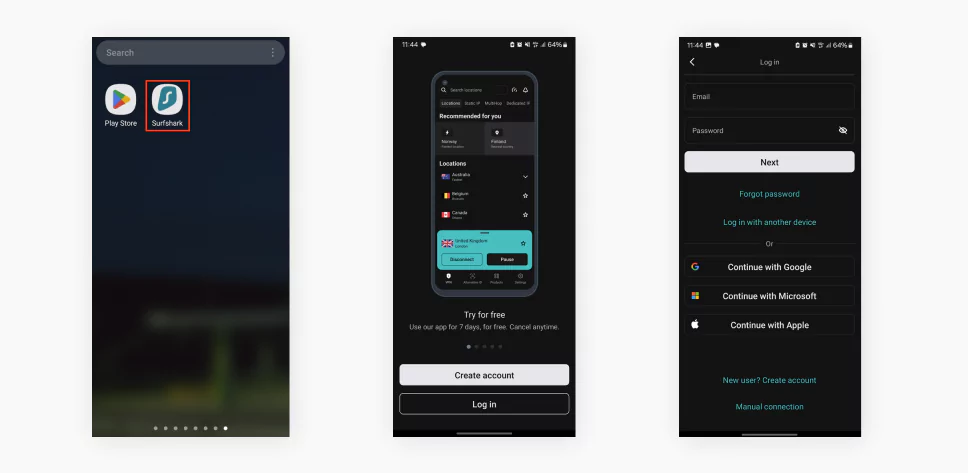
- Connect to your preferred VPN server. There are a few options to do so:
- Use the Quick-connect button to connect to the fastest server or click Change to set it up to always connect you to the fastest/nearest available or preferred location.
- Scroll through the Locations list or use the Search bar to find a VPN server you want to connect to.
Changing your VPN location on a computer
Windows
- Download the Surfshark VPN app for Windows and install it.
- Open the app and log in.
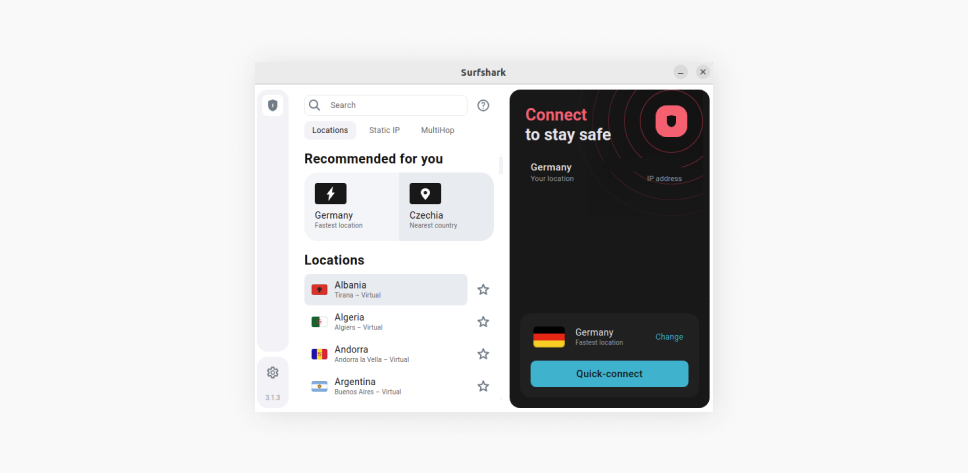
- Connect to a preferred VPN server. There are a few options to do so:
- Click on the Quick-connect button for the fastest server or Change to set it up for your preferred connection location;
- Choose one of the Recommended for you locations — Fastest location or Nearest country;
- Scroll through the Locations list or use the Search locations bar to find a server location you want to connect to.

macOS
- Get the Surfshark VPN app from the App Store, or download the Surfshark DMG file and install it.
- After the app is installed, open it and log in.
- You’ll find a few ways to connect to your preferred VPN server on the Surfshark app homepage:
- Choose one of the Recommended for you locations (Fastest location or Nearest country);
- Scroll through the Locations list or use the Search locations bar to find a VPN server you want to connect to;
- Use the Quick-connect button to connect to the fastest server or click Change and preset it to always connect you to the fastest/nearest available or preferred location.
Changing your VPN location on Linux
- Get the Surfshark app from Snapcraft or Flathub. You can also install it manually.
- Open the Surfshark app and log in.
- Connect to a VPN server by choosing a location from the Locations list, hitting the Quick-connect button for the fastest connection (you can also set it up to connect you to the nearest country or your preferred location), or searching for a server location in the Search bar.

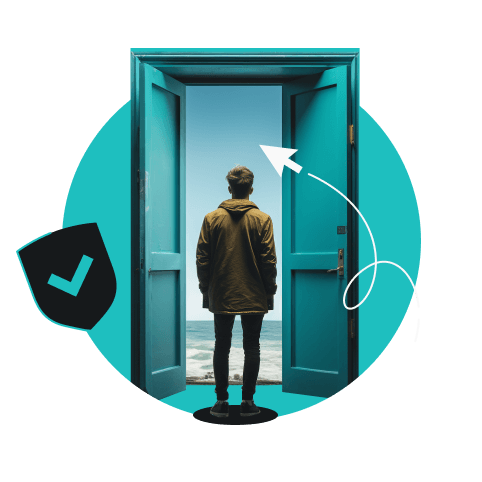
Why change my online location and IP address?
Safety, privacy, and convenience are the main motivators behind changing your location and IP. It shouldn’t be anyone’s business what you’re up to, and you should have a choice of whether or not you want to disclose your location and other sensitive information online.
To stay private
Your IP address acts as your internet ID wherever you go. That means that by looking at your IP, a person can tell your general location. Also, websites and third parties may track your online activity. Using a VPN and changing your location can stop them from doing so.
Using a VPN encrypts your data and changes your IP. This makes it much harder for advertisers to track your shopping habits and masks your activity data from anyone trying to profit from it.
To stay connected to the web
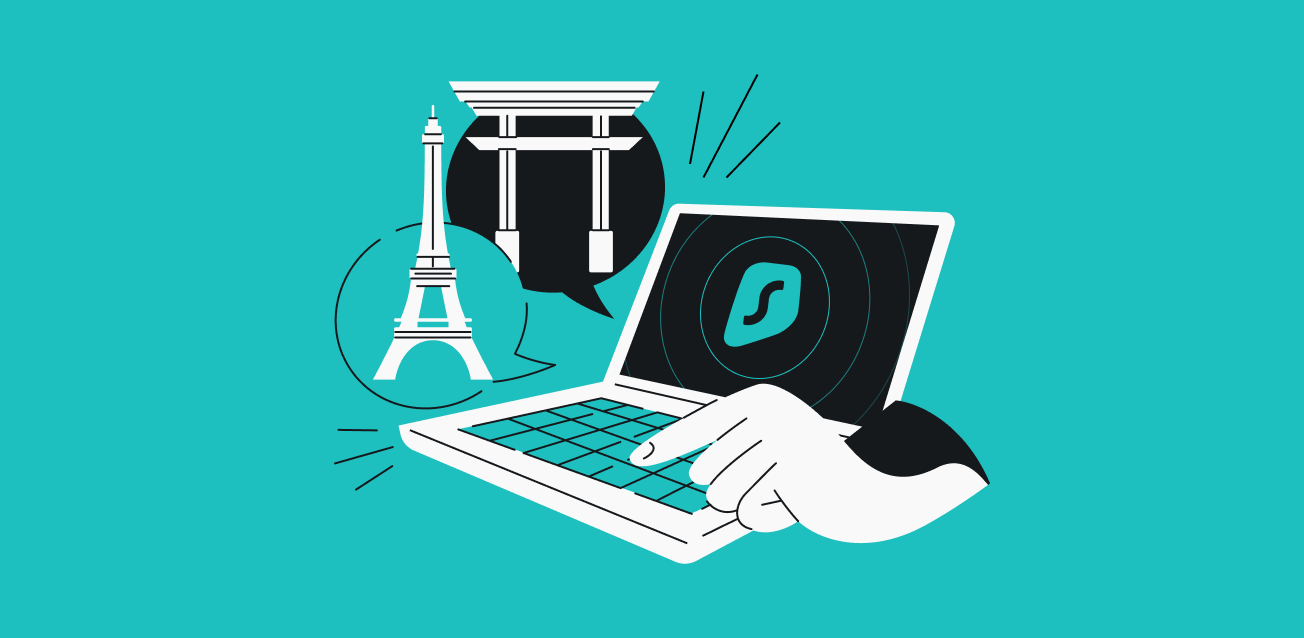
You should be able to surf the web freely. The internet was intended for everyone, but the difference between governmental and institutional policies has led to a divided internet. Search results differ or are removed, and some parts of the web are completely inaccessible based on your location or network.
Changing your location with a VPN allows you to surf the entirety of the World Wide Web more freely. This is particularly useful for users in countries with oppressive internet restrictions. Connecting to a VPN can give you access to global news or social media platforms that may otherwise be blocked by oppressive, authoritarian governments.
Disclaimer: Please note that using Surfshark services for any illegal activities is strictly forbidden and constitutes a violation of our Terms of Service. Make sure that any use of Surfshark services for your particular activities conforms to all relevant laws and regulations, including those of any service providers and websites you access using Surfshark.
To get better prices
By changing your location, you can fight price discrimination. Many internet vendors vary their prices according to your location and the info saved in the form of cookies. A VPN can help you save money and avoid unfair pricing by changing your IP.
It is particularly handy for travelers since flights and accommodation tend to have some of the biggest price differences based on your region and prior activity. So, clear your cookies before connecting to a VPN and browse for the best deal.

Take control of your online experience
Change your IP to avoid tracking, browse freely, and unlock the best deals
Get Surfshark VPNOther methods to change your location
A VPN isn’t the only method to change your online location. Let’s take a look at some of the other most common ways to do it:
Use a proxy server
The precise steps for setting up a proxy server will depend on your system. We’ll provide the basic steps below, but you might also want to check the specifications for your devices.
- Open your device’s proxy settings.
- Enter the address of your proxy server and the port number.
- Save the changes.
That’s it — your location and IP address are changed! Yep, it’s pretty straightforward. Still, web proxy servers do not offer encryption, and although your location will be hidden, your data will not be additionally secured.
Use the Tor Browser
While it does have disadvantages, using the Tor Browser is still one of the most popular ways to change your IP address. In addition to changing your virtual location, Tor allows users to access .onion websites.
However, it only encrypts browser traffic, leaving all other data unprotected. Using Tor poses risks of malware being injected into your device, phishing scams, and more. You can read an in-depth article discussing whether the Tor Browser is safe, its vulnerabilities, and how to use it securely.
Unfortunately, using Tor to change location comes with a few downsides:
- Picking a specific location requires rummaging through the settings;
- Tor only encrypts traffic that goes through the Tor Browser — other apps or searches will not be encrypted;
- The Tor Browser is slow.
Generally speaking, Tor is a great anonymity tool. However, we recommend using a VPN. This way, you won’t have to risk exposing your location via unencrypted data traffic or suffer long loading times.
Change the IP address manually
You can change your IP by hand, but it’s the least secure option since it doesn’t protect you from trackers or encrypt your data traffic.
Change your location on Windows:
- At the Start menu, go to Settings.
- Choose Network & Internet.
- Choose Properties under your local area connection.
- Hit Edit under the IP assignment and choose Manual.
- Retry the WireGuard connection method.
- Toggle on IPv4, enter your desired IP address, and click Save.
Change your location on macOS:
- Go to the Apple menu (Apple icon at the top left corner).
- Choose System Settings (or System Preferences) in the drop-down menu.
- Click Network.
- The network list should be on the left; pick your network and click Advanced on the right side of the table.
- Select the TCP/IP in the upper middle part.
- In the line Configure IPv4, select Manually.
- Enter your new IP and click OK.
Change your location on iOS:
- Go to Settings on your device.
- Tap Wi-Fi.
- Choose the network you’re connected to.
- In the IPv4 section, tap Configure IP.
- Pick Manual and enter your desired IP address.
Change your location on Android:
- Go to your Android settings.
- Tap Wireless and go to Wi-Fi.
- Tap and hold the Wi-Fi network you’re connected to at the moment.
- Tap Modify Network and go to the Advanced options.
- Change the address in the IP settings from DHCP to Static.
We advise using a VPN as your location changer because manually changing your IP doesn’t offer the security or privacy that a VPN does. A VPN encrypts your data traffic, so even if someone manages to hack your connection, they’d have no way of understanding your data.
Unplug your router
Unplugging your router is an easy (even if inconsistent) way to get a new IP address. Once you plug it back in, your internet provider’s DHCP (Dynamic Host Configuration Protocol) server may assign a new IP address to your router.
However, you may need to keep your router unplugged for several minutes or even hours, depending on your IP lease time. Also, your ISP (Internet Service Provider) could assign you the same IP address you had before.
This method is inconsistent and doesn’t provide the same privacy level as a VPN. Even if you manage to change your IP by unplugging your router, you’ll always get a new IP from the same region.
How do I know if my location has changed?
Check your virtual location to see if your IP-changing method works as intended. An easy way to do this is to use an IP address detection tool.
After changing your IP, your virtual location should be different from your actual location. For example, if you’re connected to a VPN with a location changer, but your IP address still comes from your real location, the VPN service may not be working properly. In this case, you should consider switching to a more reliable provider.
With a well-working VPN, your IP address location should immediately change to that of the VPN server rather than your actual whereabouts. Some services or websites may use your DNS address or WebRTC data to get your location data, but a good VPN also takes care of that.
Choose a location-changing method that keeps you safe
Whether you want to protect your privacy or get around restrictive firewalls, the best option is to change your real IP address and location using a VPN. On this note, Surfshark provides an easy-to-use, safe, and cost-effective option for changing your IP location.

Start masking your location now
Choose a VPN with extensive location coverage around the globe
Get SurfsharkFAQ
How do I change my VPN location for free?
You can change your VPN location for free by using a free VPN service. But just because you can doesn’t mean that you should.
Free VPNs might change your IP location, but they rarely, if ever, have the resources to actually protect you online. Over 25 million user records were leaked by free VPNs in 2022 alone. Needless to say, using a free VPN is a huge security risk, while a reliable paid VPN can help keep you safe and private.
How often does a VPN change the IP address?
With Surfshark’s Nexus technology, your IP address will be rotated every five to ten minutes. However, you have to turn on the IP rotator manually. To do so, follow these steps:
- Open the Surfshark VPN app.
- Click Settings on the left side of the screen.
- Choose the VPN settings tab.
- Toggle the Rotating IP feature under the Advanced settings to enable IP rotation.
Otherwise, if you don’t use this feature (or if you use another VPN provider), your IP will change every time you connect to a VPN.
Will I get a different IP every time I connect to a VPN?
Yes, you will most likely get a different IP address whenever you connect to a VPN. To those wondering how a VPN can give you the same IP, here’s the answer — only a certain number of IP addresses are assigned to specific servers, so there’s a chance you might get the same IP.
If you don’t want the IP to change every time, you can connect to the same static IP server every time or get a dedicated IP.
Is it illegal to change your location with a VPN?
No, unless you live in a country where VPN use is illegal in general. Still, keep in mind that although it’s not illegal, it might be against the Terms and Conditions of the services you use.
Disclaimer: Please note that using Surfshark services for any illegal activities is strictly forbidden and violates our Terms of Service. Make sure that any use of Surfshark services for your particular activities conforms to all relevant laws and regulations, including those of any service providers and websites you access using Surfshark.
Is it safe to change a VPN?
It’s the same as asking whether a VPN is safe to use. It depends on what type of VPN you’re using — the act is safe, but the provider may not be. So check out VPN providers’ policies, prior history, and how they handle your data.
Can a VPN change a cell phone location?
A VPN will change your IP, but it can’t change your cell phone’s location because cell phone towers and mobile carriers will still detect your location. Cell phone communication is based on radio waves, and VPNs can’t encrypt radio waves. Yet. This is why some users resort to GPS (Global Positioning System) spoofing to alter their apparent location.
Can a VPN change your city location?
A VPN can change your location to another city if your VPN provider has servers in the particular city you want to connect to. For example, Surfshark has servers in over 20 major US cities, allowing you to choose which one you want to connect to instead of just offering the US as a single location option.
How can I change my IP with a VPN?
You can change your IP with a VPN by simply connecting to it — your IP address changes automatically whenever you connect to a VPN client. That’s because a VPN routes your traffic through a server before sending it to the website or app you’re using. As a result, your actual IP address is replaced by the VPN server’s IP address.